Button earrings in 5 simple steps
To make a sweet and simple pair of fabric covered button earrings you will need:
Materials
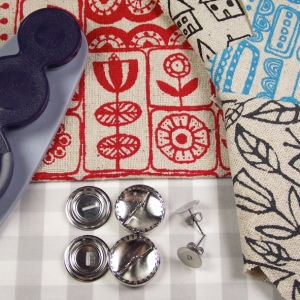
- 2 x 19mm Self cover buttons with removable shanks
- 2 x 10mm Earring posts with earring backs
- 2 x 35mm Diameter fabric scraps or patterned fabric.
- Epoxy glue or strong metal glue.
Tools
- Scissors
- Fabric marker
- Tracing paper/pencil.
- Pliers
- Universal tool for covering buttons (Prym)
Step 1: Materials
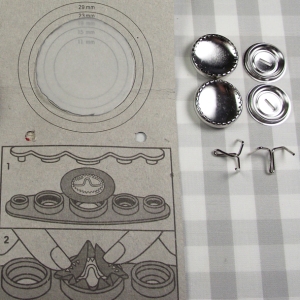
Choose your button size: For this tutorial I am using 19mm Prym metal buttons, I’ve tried lots of different types when crafting and these are by far my favourite for quality. Prym buttons come in 11, 15, 19, 23, 29mm when considering size the smaller the button the trickier they are to make, the larger the button the heavier they are on the ear. For the earrings you will not need the shanks so pinch and removed these with a pair of pliers.
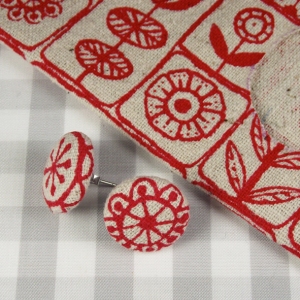
Fabric: Fabric covered button earrings are great for using up small scraps of treasured fabric and making simple matching fabric earring for your outfits. The fabric I’m using is Scandi London Red a gorgeously lovely screen printed fabric by Lu Summers : Summersville found on Etsy/Folksy. Top Tip: If you are using a fine fabric or loose weave fabric you will need interfacing to avoid shine through from the glare of the metal button.
Step 2: Template Making
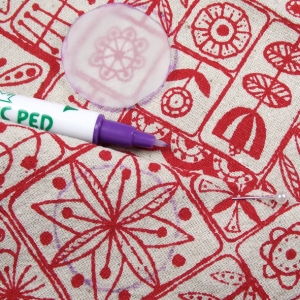
Using tracing paper make a template the size of your button as suggested on the back of your button maker/buttons or roughly add 15mm to your button size this will allow for fold over. Tracing paper will allow you to see your fabric and plan what your earrings will look like if you don’t mind then just use paper/card.
Step 3: Cutting Fabric
Use your tracing paper template to choose your pattern composition for your earring, draw around it with a fabric marker. Cut on pen lines.
Step 4: Cover Buttons
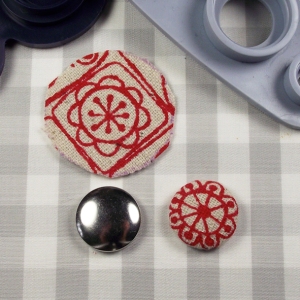
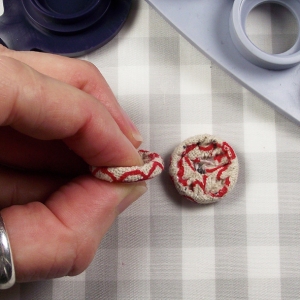
If you have a button tool you can use one of these they are really handy, personally I do the first stage by hand so that I can get my pattern exactly where I want it and the edges of the button as smooth as possible. Use your nails to get between the teeth so the fabric grips well. Press back on firmly with blue part of tool, this is important so that the back doesn’t pop off.
Step 5: Glue on Earring Posts
Using small amount of a 2 part Epoxy glue attach the earring posts to the backs of your buttons. I like to use Devcon 5min Epoxy it is strong enough for the job and is less fumy than other epoxy glues I have tried. Top Tip: Try and get the biggest earring post pad you can find either 8mm or 10mm the larger the surface area the better the bond. Ebay and Etsy are good places to get low quantity jewellery findings but you could try Empire Beads
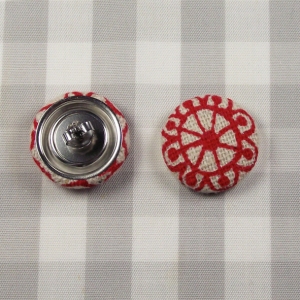
And there you have it a pretty pair of sweet yet simple fabric covered earrings:
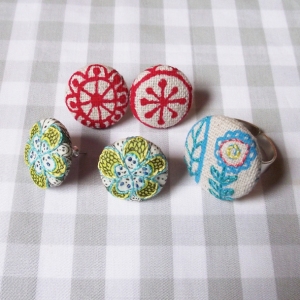
Don’t let the fun end there, you can do all sorts of things with fabric button earrings layer thin fabrics with simple appliqué, add extra details with beads, machine embroidery, hand embroidery or even experiment with different jewellery findings. I know I’m addicted to buttons.
Bloom Earrings Liberty Print.
by Sami Teasdale Teasemade
